This page is for testing the procedures for loading a gallery.
Note
media has to be in place first before making a gallery. Captions can be changed at any time in the media library as they are reloaded each time the page is called.
Add media library – select images from media at – NZRLS/imageBackUp/ or other folder.
Edit media – add captions from text and a description – Captions go onto both images, description goes on linked (Large) image. They can be added or changed later.
Include this html too at the end of the text in the description box for “Back” navigation.
“<a href=”https://railsoc.org.nz/<URL of this page>/” title=”Back”><blockquote><strong>_Back_</strong></blockquote></a>” – note <URL> is the name of the page of his gallery.
Open and name your gallery page. This will be the web URL.
click ‘Add Media’ at the top of the page
-
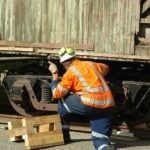
- The final check for alignment.
-
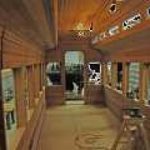
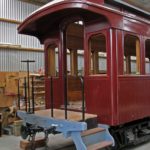
- Inside view WMR 48
-
- The rear platform.
-
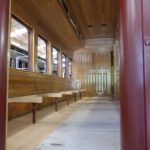
- Inside WMR 48 showing the seat supports in place
The media library displays, click ‘Create Gallery” and select the images you want.
Each one will outline and be ticked, also appear at the bottom as ‘selected’
Verify the ‘ATTACHMENT DETAILS ‘ are correct. Select the next image until you have all images ticked.
Click – ‘Create a new gallery” , on the right, select 4 columns and size = thumbnail
This will put the images on a gallery screen 4 wide and “X” long
You can realign them, delete if needed [-] and ‘Add to Gallery’ to insert a new one from the media library.
Click ‘Insert Gallery’ . To make a change, Click the 4 images in the line and ‘Editbutton’ this brings you back to ‘Update Gallery’ where you can change the images – as above.
Do “Save” and check the page, use another browser if possible.
If you have not selected all images yet
Click at end of gallery and enter the start for next line – type ‘here’ to mark where the next gallery image will go.
Go back to ‘Add Media’
RDM, 11th November 2018